
Put the menu on a screen
Add a Live Menu element to any design and style it to match your venue.
Add the element
In
Design, open or create a design, then+ Add Element→Live Menu. Drag and resize the box where the menu should go.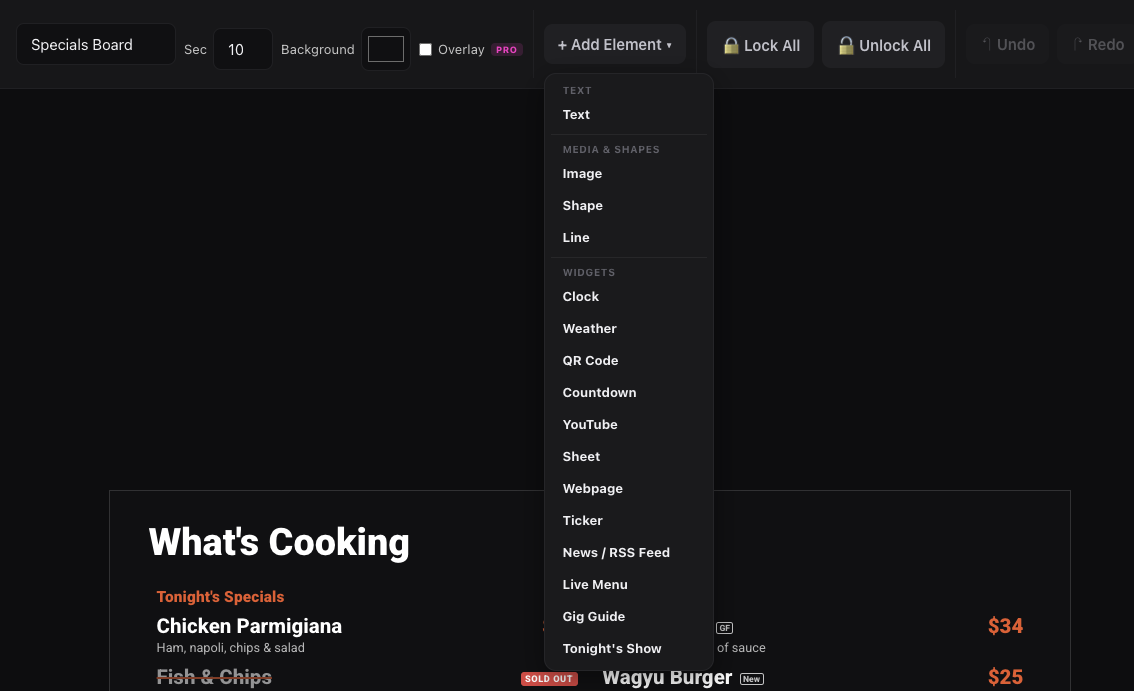
Live Menu is near the bottom of the Add Element list. Choose what it shows
With the element selected, tick the
Sections to show, pick 1–3Columnsand how sold-out dishes look:Cross out + SOLD OUT tag,Fade outorHide completely.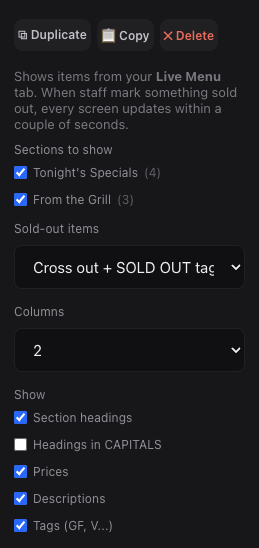
What the element shows. Style it
Set separate
Sizesfor items, headings, descriptions and prices, theHeading position(Left, Centre or Right), aFontandHeading font, and colours. TickHeadings in CAPITALSif you want headings in caps.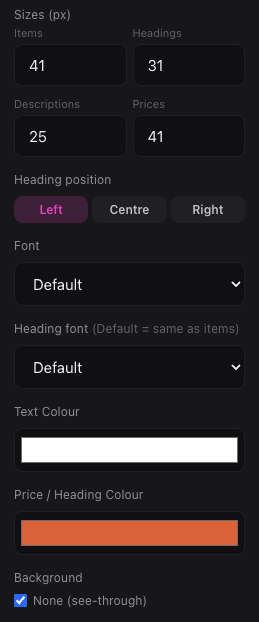
Sizes, heading position, fonts and colours. Check the preview
The canvas shows your real dishes, so what you see is what goes on the TV.
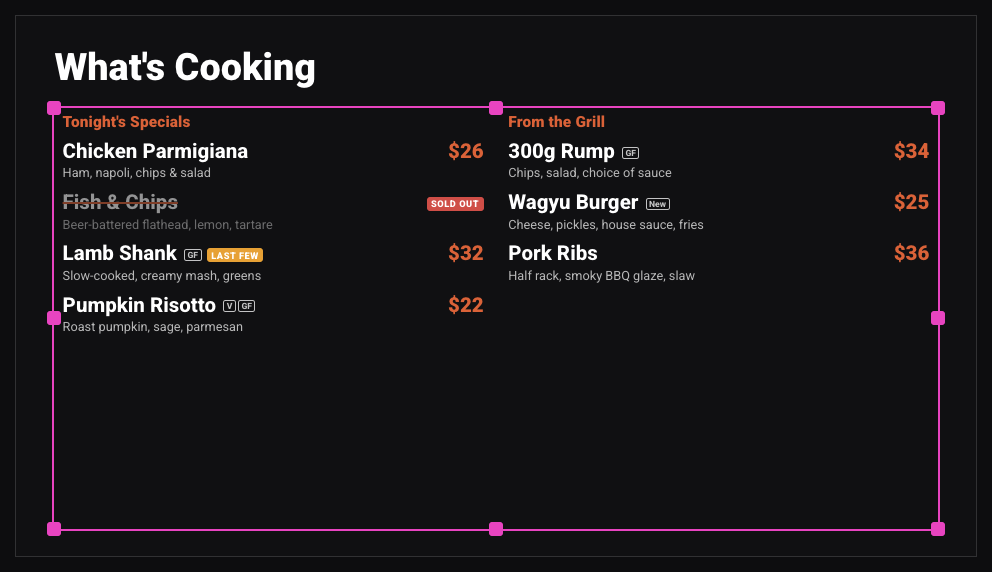
The design editor shows the live menu as it'll appear. Save and push
Save the design, add it to the screen's playlist and hit
Push. A screen that was already running needs oneRefresh(Screens tab) the first time.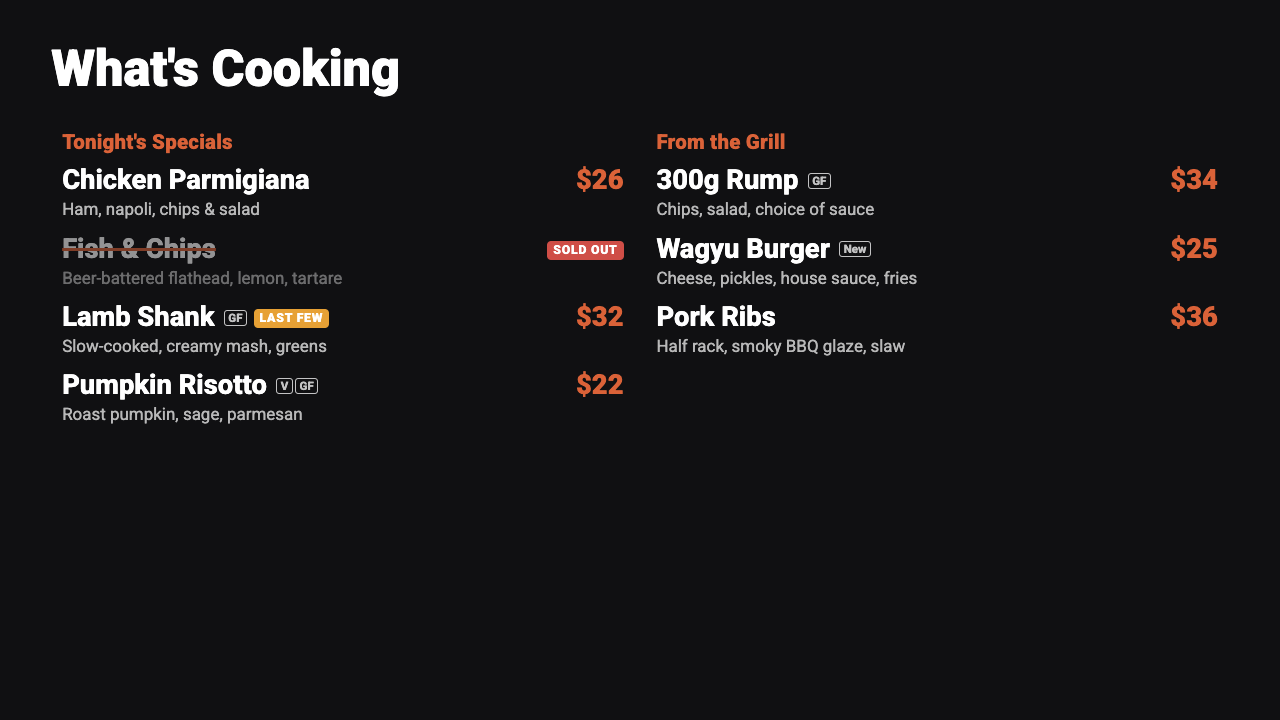
The finished menu board on screen.